
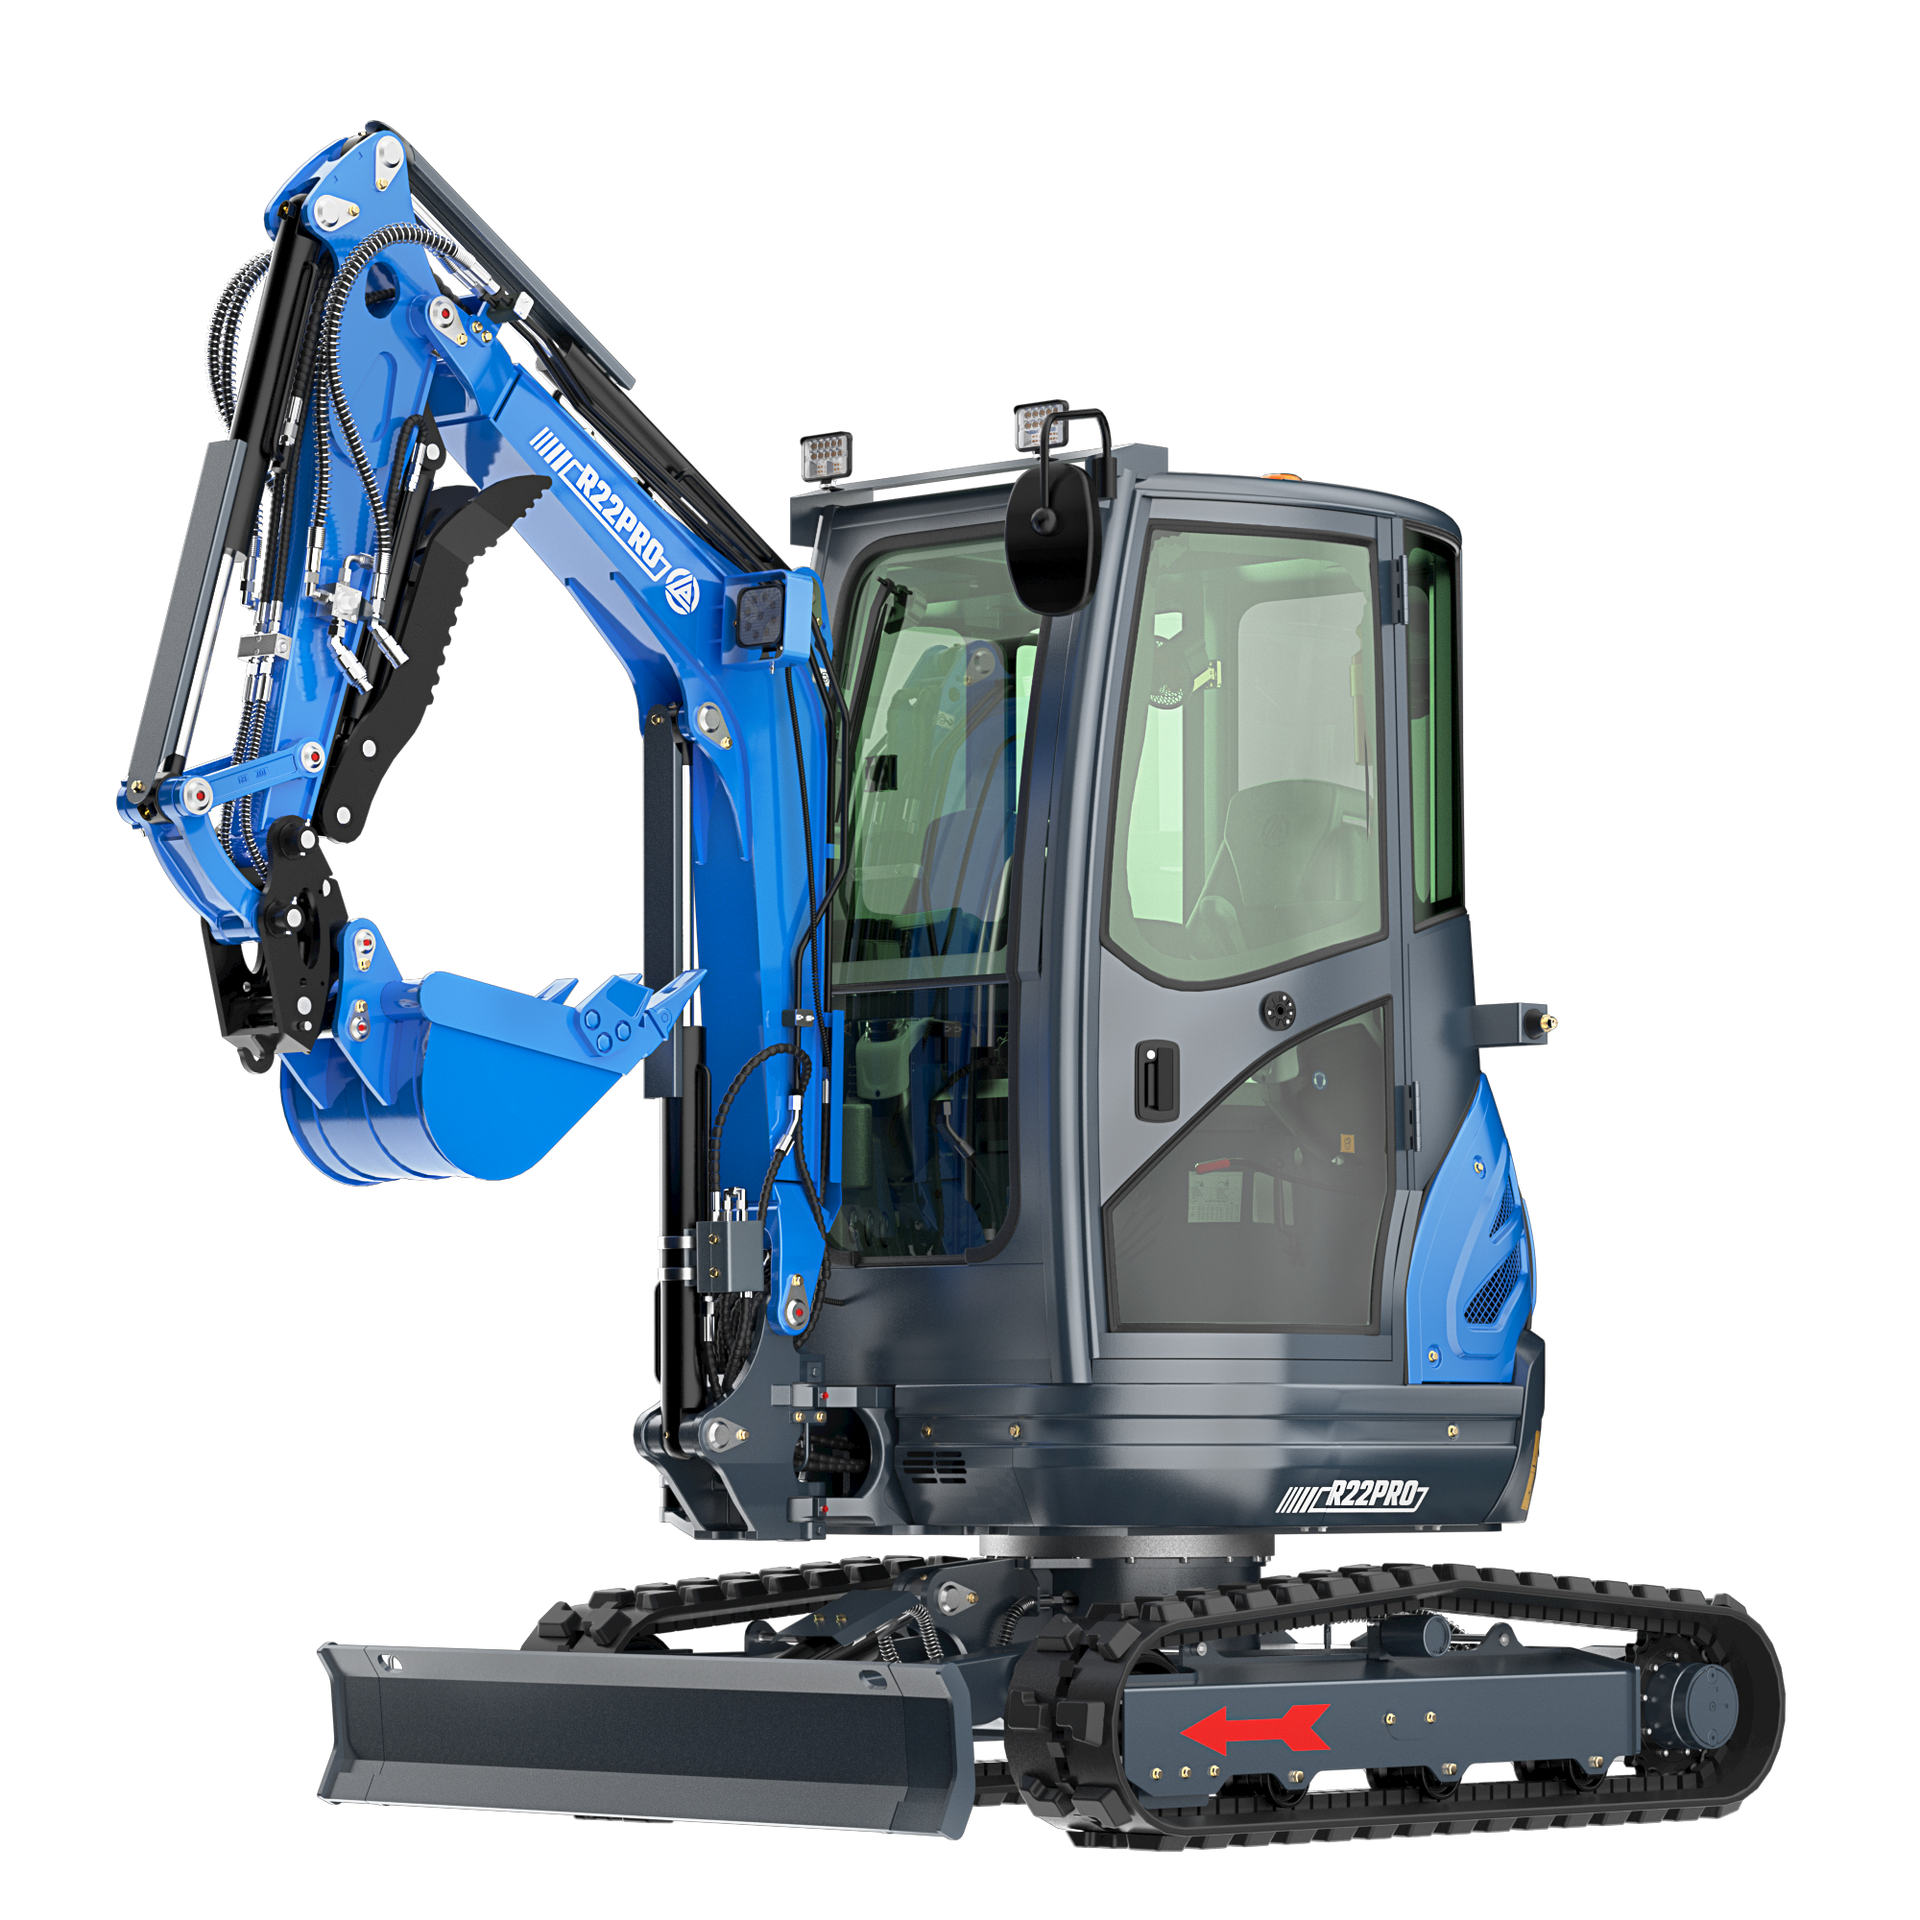
17 Point excavator inspection and recovery Method
How to get your excavator back on it's "feet" and ensure its safe to operate.
These things happen sometimes
The bigger they are, the harder they fall. This remain true for excavators. Recovering an excavator and completing it's inspection should not be rushed or taken lightly. Safety is our top priority when it comes to getting your machines back to normal operation.
Having your excavator fall is no joke! After such an incident, you may have thought;
"Where do I go from here? Is my machine broken? How do I make sure its safe?"
This article will help you get your machine right side up and operating once again.
Recovering an excavator on it's side
Get the tracks back down
1) Depending on the weight of your machine, you'll need a heavier machine and some mechanical advantage like a hoist, chains, and straps.
2) Place the chains around the tracks that are higher up in the air. NEVER hook up chains to the boom. The boom will swing and you'll be adding tension to the knuckle and damage the machine further. By wrapping chains around the upper tracks and base of the excavator, you have a safe and secure tension that will not move.
3) Use nearby stumps, metal, or anything heavy to place in front of the tracks which are on the ground. These will serve as something the tracks can press up against to help right the machine. If these were not here, you'd end up dragging the machine sideways along the ground.
4) Hook the chains to the back of a truck, or other piece of heavy equipment and begin pulling. Ensure all people are not in harms way when the excavator rights itself.
17 Steps to inspect your excavator after it's recovery
Each step needs be taken 1 at a time and checked over with a fine toothed comb. Once done, you can know for certain that you'll be safe to operate your excavator.
I - Safety and Structural Inspection
01
Main frame & Chasis
You're looking for any deformation, cracks, bending or twisting
02
Cab & Canopy
Check the mounting brackets for misalignment or broken bolts
03
Tracks/Wheels
Are the rollers and outriggers bending or misaligned?
04
Pins
Check the pins and articulating points for deformation or dislocation.
II - Hydraulic System
01
Hoses
Inspect all Hydraulic hoses for ruptures, flattening, or leaks at the fittings
02
Boom, arm, blade
Check for bending or deformation. especially down at the knuckle closest to the cab.
03
Cylinder
Check the hydraulic cylinder piston rods for dents, bending, or oil seal leaks.
04
Valves
Check multi-way and control valves for impact damage, oil leaks, or spool sticking.
05
The Tank
Check the hydraulic oil tank for dents, oil seepage, or cloudy fluid.
06
Fluid
Check hydraulic fluid level. NEVER start the machine if the oil level is low.
III - Travel & undercarriage
01
Tracks
Check track tension. Inspect the idlers, carrier rollers, and drive sprockets for misalignmnet
02
Motor
Check travel motor housing for impact
03
Reducer
Check travel reducer for oil leaks or low gear oil levels
04
Bolts
Check track shoes and bolts for breakage. Identify any risks of track derailment
05
In/out
look during the track mechanisms during extension and retraction for jamming and deformation
IV - Engine Section
1
Water Tank
Check the water tank & radiator for misalignment due to impact, leaks, or damaged colling fans.
2
FIlters
Inspect the air filter assembly and air intake ducts
Assuming all the boxes have been checked and any repairs that had to be done are done, you should be ready to get back to completing your projects. However, if you'd like us to inspect your machine as a final box to check, give us a call and book an appointment and our experts in the service Center will gladly touch it up.